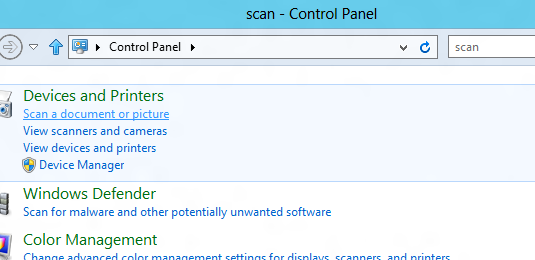
Scanning a Document or Picture is easy in Windows 8. Yes you do not need to use any external software and you can simply use the built in features of Windows 8 to scan documents or pictures in color or in gray scale. In order to scan a document or picture on Windows 8, connect your scanner using USB 2.0 or USB 3.0 connector to your Windows 8 computer and power it on. Now open up control panel and search for scan as displayed in the screenshot below.

Scaning without any 3rd party software on Windows 8
From the list of options that popup, have a close look at the heading Devices and Printers and then notice a link saying Scan a document or picture and then click on it. This will open up a new window which is sort of scanned documents manager and also fax manager. Here you can scan or preview documents or pictures stored in various image file formats such as .bmp, .png, .tif or even in a .jpg file format.

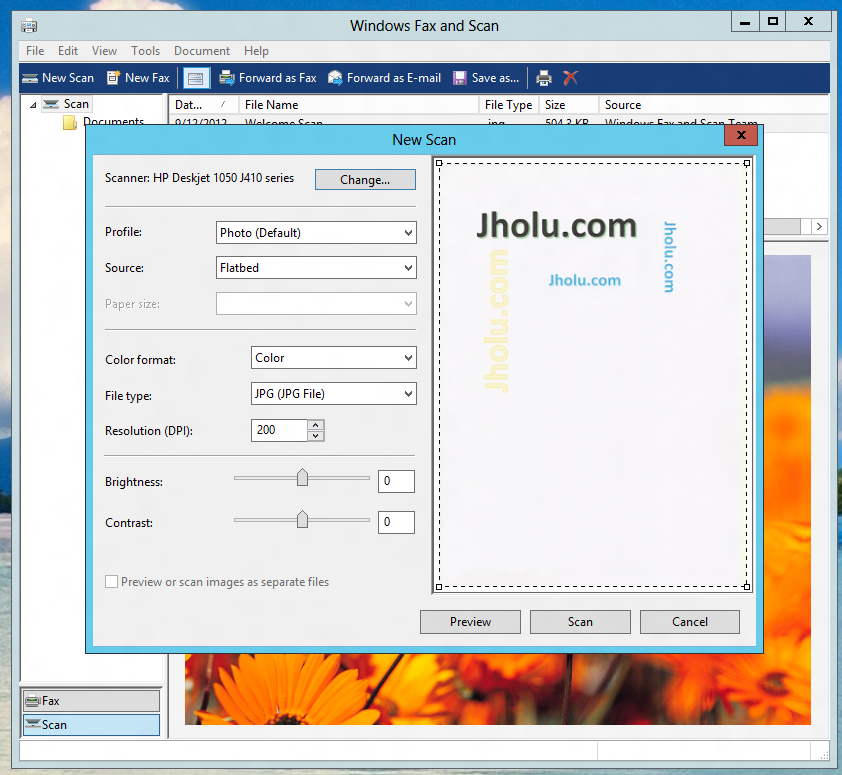
Scanning and Fax Management in Windows 8
In the above screenshot of Scan and Fax Management control panel applet, a A4 size paper has been previewed. Windows 8 also allows you to either scan in color, gray scale or even in black and white. Resolution of the scanned image in Windows 8 is also configurable and remember higher the resolution you specify in terms of DPI (Dots Per Inches), bigger your image file is going to be and more the time each scan will take. Brightness & Contrast of the scanned image can also be changed. You can even send the scanned documents in Windows 8 by email using the default EMail Client installed on your Windows 8 computer.